
Last updated November 16, 2026
 Wrought iron
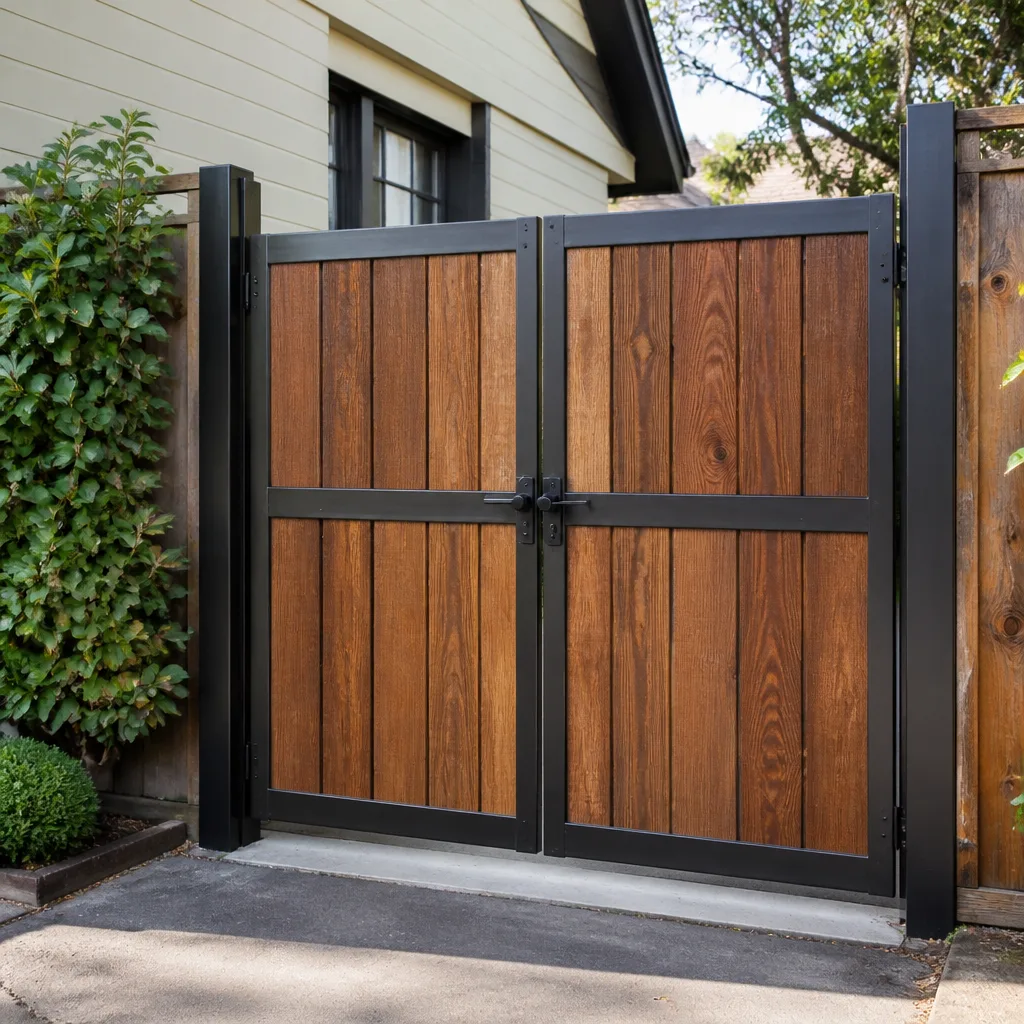 Wood & steel frame
 Farm & ranch
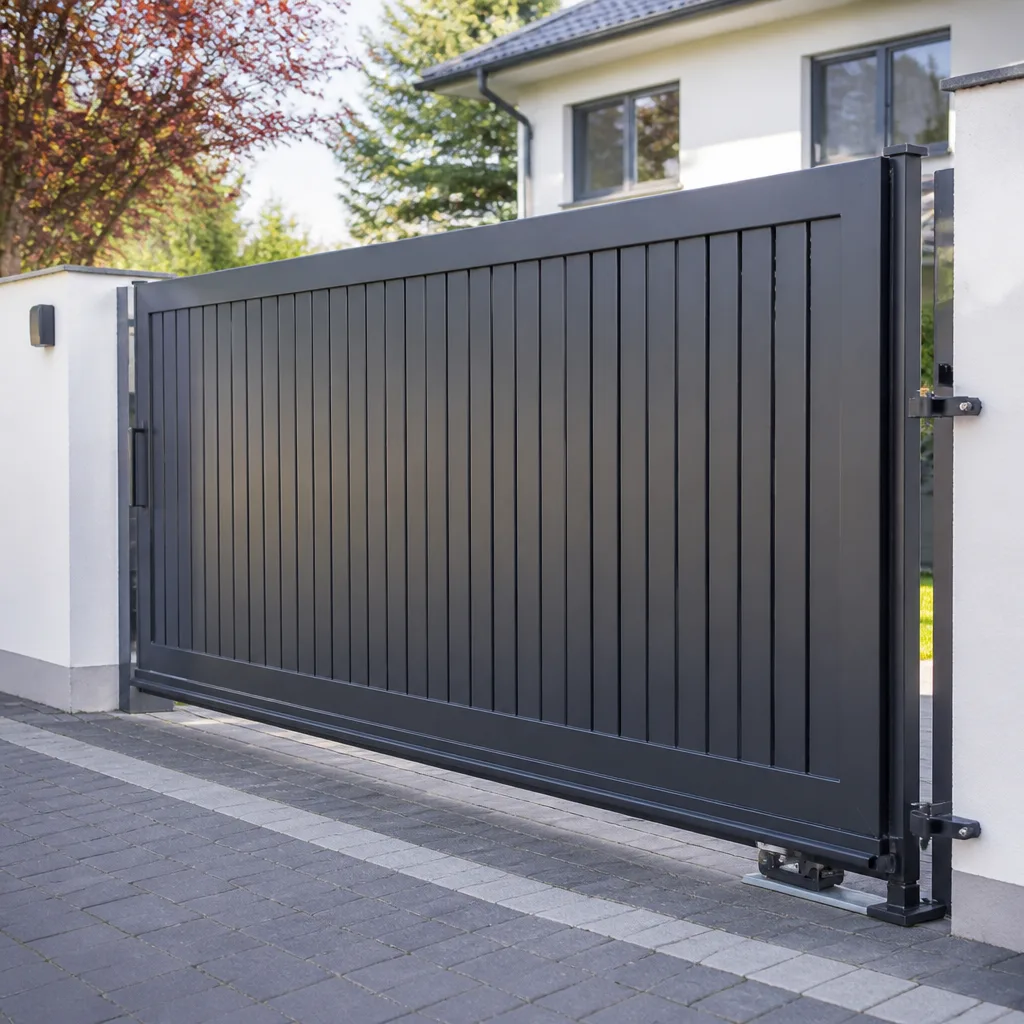 Sliding driveway gates
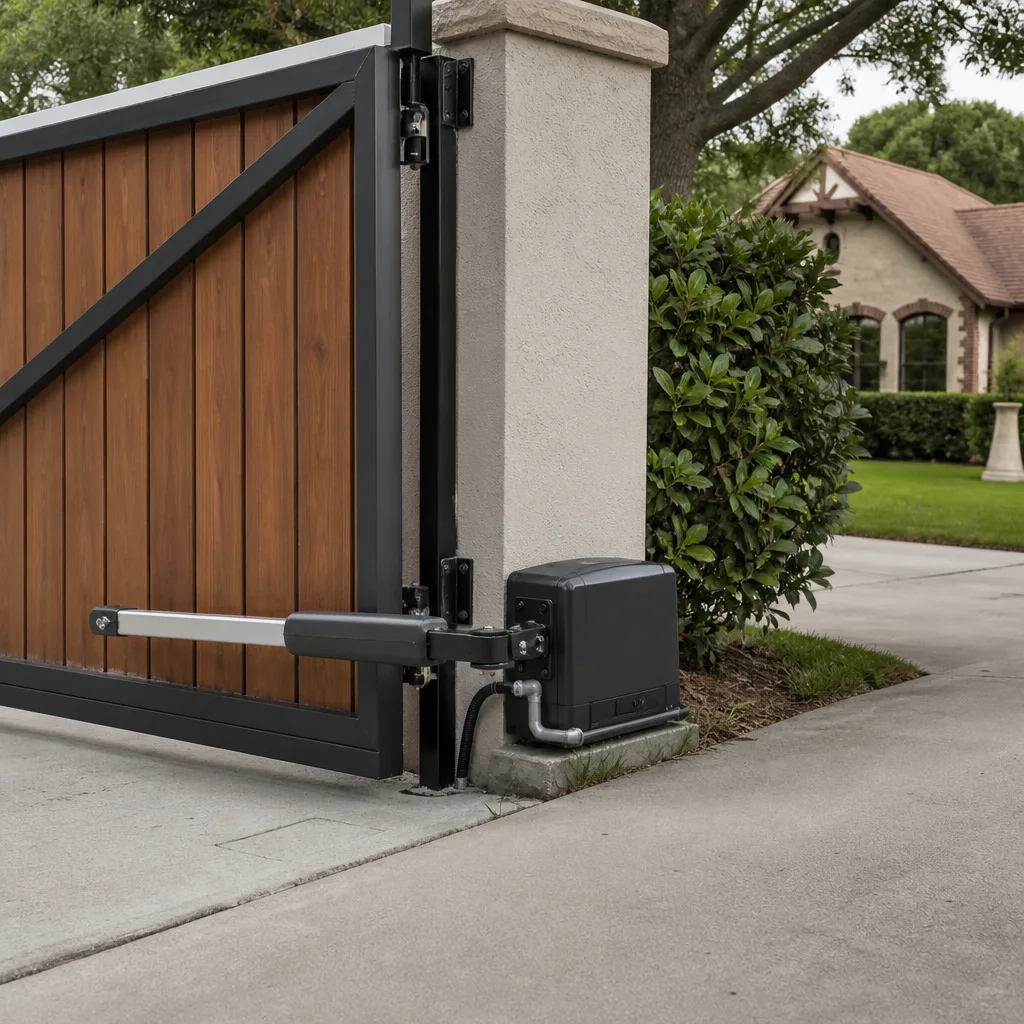 LiftMaster operators
Free on-site gate assessment - hinges, posts, and your LiftMaster or Nice gate operator checked before anything is quoted
The assessment is free and the quote is the invoice.
Get your free estimateGate Repair Maintenance Checklist for Newark Homeowners
Chain lubrication sits at the top of nearly every gate maintenance list you’ll find online, and it’s the wrong place to start. If your chain already carries micro-fractures from a hard cold snap, greasing it just postpones the break by a couple of weeks and hides the wear from the next person who looks. Order and specificity matter more than the list itself. A gate that gets walked past every day in Newark tells you almost nothing until you know which parts to test in which sequence. What follows is a checklist built around the components that actually fail here, how to test them without a toolbox full of instruments, and how to catch the small inexpensive problem before it turns into a costly one.
Quick Answer
A gate maintenance checklist for Newark homeowners should cover monthly safety-device and track checks, quarterly operator and battery inspection, and annual hardware and structural review, with brand-specific service intervals layered on top for LiftMaster, FAAC, Linear and Viking operators. The sequence matters: test entrapment protection first, inspect the drive train second, then lubricate. Lubricating before you test hides the evidence you need.
Styles & brands we work with
- Wrought iron
- Wood & steel frame
- Farm & ranch
- Sliding driveway gates
- LiftMaster operators
Table of Contents
- Why Order Matters in a Gate Maintenance Checklist
- Monthly Tasks: What to Check Every 30 Days
- Quarterly Tasks: Operator, Battery and Sensor Depth
- Annual Tasks: Structure, Hardware and Winter Prep
- Brand-Specific Service Interval Flags
- How to Test Entrapment Protection Without Specialized Equipment
- Battery Backup Health: Reading Voltage Correctly
- The Documentation Habit That Shortens Every Repair
Why Order Matters in a Gate Maintenance Checklist
A checklist is a sequence, not a pile. Every task you add pushes another one down, and the tasks at the bottom are usually the ones that catch problems early. Put lubrication first and you’ll spend your time on the least diagnostic step in the whole list. Put safety-device testing first and every later step gets safer and more accurate.
Here’s the logic in plain terms. Lubricant is a masking agent. A chain with early stress fractures runs smoother after greasing, sounds quieter, and passes a casual inspection. The fracture is still there. When a temperature drop hits the metal, it lets go. The same principle applies to gate operators. A worn drive gear can be quieted temporarily by fresh grease, but the tooth profile doesn’t grow back.
The right order for any gate inspection is roughly this:
- Test the entrapment protection and photoelectric sensors while the gate is still in its dry, untreated state.
- Inspect the drive train for wear, looseness and metal fatigue.
- Check the operator housing and control board area for moisture, insects or loose connections.
- Inspect the tracks, rollers, hinges and posts for physical movement.
- Lubricate only what the manufacturer calls for, and only after the inspection above is complete.
- Run a full open-close-open cycle and record the result.
In Newark, that sequence pays off because the seasonal range here is hard on gate equipment. Summer heat causes metal to expand and wood to swell. Winter cold contracts and hardens. The Ironbound neighborhood sits close to the Passaic River, where humidity runs higher than in the city’s higher-elevation sections. Gates in Weequahic and Forest Hill face a different set of stresses. The sequence stays the same, but the parts that need attention shift with location and season.
Chain inspection is a good example. A chain with visible wear, stretched links, or a kink that won’t relax should be tagged for replacement rather than fed more lubricant. Calling a gate repair technician at that point is the cheaper move. Waiting until a chain breaks under load risks damage to the operator sprocket, which turns a simple part swap into a bigger repair.
Monthly Tasks: What to Check Every 30 Days
A monthly walk-through takes 15 minutes if you know what to look at. These are the tasks that catch developing problems early, before they turn into a repair call.
- Photoelectric sensor test. With the gate in motion, pass a hand or a piece of cardboard in front of the sensor beam. The gate should reverse or stop. If it doesn’t, do not operate the gate again until it’s checked. This is the single most important monthly test.
- Entrapment reversal test. Place a solid object roughly the size of a small box in the gate’s path (never a person or pet) and command the gate to close. It should reverse on contact.
- Track and roller sight check. Look for debris in the track channel, loose rollers and visible rust. Newark’s street trees and wind-blown grit accumulate in slide gate tracks more than most homeowners expect.
- Gate swing path. Walk the full arc of a swing gate on foot. Clear any object, low branch or ground swell that narrows the swing radius.
- Control device check. Press every remote and keypad button once. Note any that respond slowly or intermittently. Intermittent behavior usually means a dying battery in the remote, not a failing operator.
- Manual release function. Confirm the manual release key or lever moves freely. A seized manual release is a serious problem in a power failure.
Write down what you find, even the “all clear” result. A monthly log creates a baseline, and a baseline is what makes the annual review useful.
This is also the right time to look at the gate’s travel limits. If the gate is stopping short of fully open or fully closed, the limit switches may have drifted with temperature changes. A small drift in July becomes a larger drift by December if left alone.
Quarterly Tasks: Operator, Battery and Sensor Depth
The quarterly pass takes an hour and covers the deeper electrical and mechanical checks. Most of these are still within reach of a careful homeowner, but the electrical side deserves respect. Any work inside the operator housing near line-voltage terminals should be done by a trained technician, not a homeowner.
- Battery backup load test. Disconnect line power at the breaker, run the gate open and closed once, then reconnect. The gate should complete a full cycle on battery. If it slows noticeably or stalls, the battery is on the way out. See the voltage section below for how to interpret readings.
- Control board inspection. With the breaker off, open the operator cover and look for moisture, corrosion, insects or loose terminal screws. Do not touch any terminal while the power is on.
- Photo-eye alignment recheck. Seasonal expansion and contraction of the posts can shift the sensor heads a few millimeters. Re-align if the beam is intermittent.
- Loop detector check (if fitted). Drive a vehicle off and back on the exit loop. A false hold or a missed detect points to loop tuning or a damaged saw cut.
- Safety edge test (if fitted). Press against the leading edge of the gate to confirm it stops and reverses. This device is critical on commercial and heavy residential gates, and it’s frequently the first component to fail.
- Fastener torque check. Posts, hinges, track anchors and operator mounting bolts all loosen over a season of cycles. A torque check catches it.
- Lubrication only where specified. Chain (dry lubricant on most roller chains, manufacturer-dependent), rollers and hinge pins. Do not spray lubricant on the operator sprocket teeth or anywhere near the control board.
Newark has a lot of older housing stock. If you have a gate system that predates the current safety standards, the entrapment and safety-edge checks are far more important than they would be on a new install. Older operators sometimes lack a monitored safety edge entirely, which is worth knowing before you decide what to do next.
Annual Tasks: Structure, Hardware and Winter Prep
The annual review is when you step back and look at the whole gate as a system rather than a set of parts. It’s also the best moment to prepare for the Newark winter, which is where the failures we see most often originate.
- Post and footing inspection. Push firmly against the posts in several directions. Any visible movement at the base means the footing or the mounting hardware needs attention. Gates move. Posts should not.
- Hinge and roller wear measurement. Compare the pin-to-sleeve fit on hinges. A worn hinge shows visible slop under load, and it accelerates wear on everything downstream.
- Gate panel and frame inspection. Look for rust-through, wood rot, cracked welds and bent pickets. On wooden gates, probe the bottom rail where it meets the ground.
- Operator gearbox and motor brush check. This is the one task we’d encourage you to hand to a technician. Internal components wear in ways that aren’t visible without disassembly.
- Full electrical inspection. Junction boxes, conduit, conduit fittings and the power feed to the operator. Newark’s older homes sometimes have gate wiring run through conduit that’s deteriorated at ground level.
- Control board and wiring diagram reference. If your system uses a DoorKing or Linear operator with access control, the annual review is when you confirm the access codes, phone entry and intercom functions still work.
- Winter prep. Confirm the battery backup is healthy before the cold arrives. Check the operator’s cold-weather limits in the manual. Verify that the gate’s track drains properly, since standing water in a track channel freezes and seizes the gate.
- Full cycle log. Record the cycle count (most operators track this in the menu) and note the weather conditions of the past year. That baseline gets used for the rest of the gate’s life.
We’ve seen plenty of gates in Newark where the entire annual service is reduced to “spray the chain.” That’s cheaper, and it also means the first sign of a structural problem is a gate that won’t open. An hour of inspection each year changes that.
Brand-Specific Service Interval Flags
Generic checklists ignore the operator you actually own, and that’s where they lose their value. Different brands have different wear patterns and different components that need watching. Here are the flags we keep in mind for the operators we encounter most in Newark.
LiftMaster Operators
LiftMaster residential swing and slide operators (the LA400 and similar lines) are common in Newark’s newer residential work. Their battery backup systems are usually reliable but degrade quietly after years of shallow cycling. The control board’s status LEDs give you a lot of diagnostic information without opening anything up. Watch the “battery low” and “safety” LED patterns. Lifmaster slide gate models also commonly use rubber edge sensors that harden with heat; check the rubber for flexibility each quarter.
FAAC Operators
FAAC swing operators are excellent but sensitive to incorrect manual release use. Homeowners who release the gate manually and then re-engage the operator without cycling it fully can leave the internal limit cams slightly off. Each quarter, do a full cycle after any manual release. The FAAC line also has specific oil and maintenance intervals in the manual that many owners never read.
Linear and Apollo Operators
Linear (now part of Nortek) and its Apollo-progenitor line are common on older residential slide gates in Newark’s established neighborhoods. These operators often have an “opening force” or “clutch” adjustment that drifts over years. If your gate is starting to struggle on cold mornings, the clutch setting may be the real issue rather than a failing motor. The safest way to verify is to have an electric gate repair technician measure the force at the gate’s leading edge against the manual’s specification.
Viking Operators
Viking swing and slide operators show up frequently, and their control boards tend to hold up well if moisture doesn’t get to them. The quarterly control-board inspection matters here. Viking’s accessory ports for safety edges and loop detectors are also worth testing at the quarter rather than the year, since a failed accessory can cause intermittent behavior that’s hard to diagnose later.
Ghost Controls and Mighty Mule
These are more DIY-friendly residential operators. The most common issue we find on them is incorrect limit-switch adjustment after the gate’s geometry has shifted over a season. If your gate is stopping slightly short, don’t assume the operator is failing. Check the limits against the gate’s actual open and closed position each quarter.
DoorKing and Elite
DoorKing operators are more often commercial, but they show up on larger residential work and multi-unit properties in Newark. Their access control integration can fail silently. Test the keypad, intercom and entry-phone functions at the quarter. Elite gates and operators are generally robust, but the brand’s track and roller assemblies should be inspected for wear each quarter, not just annually.
A service interval flag is just a reminder. What matters is following the specific manual for the specific model you have. Our techs have up to 10 years of experience servicing gates across the trade, and the brand-agnostic diagnostic approach is exactly what makes brand familiarity useful without making it a limitation.
How to Test Entrapment Protection Without Specialized Equipment
You’ll need a cardboard box, a small cardboard tube, a helper and 10 minutes. That’s the whole toolset. Entrapment protection testing catches the failures that matter most and is the single most skipped step on most home checklists.
Entrapment protection includes two broad categories: photoelectric sensors (the invisible beam across the gate opening) and physical safety edges (the rubber strip on the leading edge of the gate). Most homes have the photo-eye. Some have both. Here’s the sequence:
- Test the beam while the gate is stationary and open. Pass the cardboard tube slowly through the sensor beam. The sensor’s LED (usually a red or amber indicator) should switch state. If the indicator doesn’t respond, the beam is misaligned or the sensor is failing.
- Test the beam while the gate is closing. Stand well clear, command the gate to close, and have a helper pass the tube through the beam. The gate should immediately stop and reverse. If it continues closing, stop using the gate until the sensor is repaired. This is a safety issue, not a convenience issue.
- Test the physical safety edge (if fitted). Place a soft object at the leading edge’s path and slowly close the gate by hand (with the operator disengaged). The edge should trigger a reverse. If it doesn’t trigger, the edge has failed and the operator may be relying solely on force limits, which is not sufficient protection.
- Test the manual reverse. With the operator engaged, press the control’s stop or reverse button while the gate is closing. The gate should reverse immediately. If it stops and holds, the operator’s logic board may be misconfigured.
- Record the result. Write down the date and the outcome. If any test fails, don’t operate the gate again until it’s repaired by a qualified technician. Gate operators can develop enough force to cause serious injury or worse, and a failed safety device is where that risk lives.
Never test entrapment protection by putting a person, pet, or your own hand in the gate’s path. Many homeowners try to “feel” whether the gate reverses on them. That habit has caused real injuries. The cardboard test is safer and more accurate.
If you’d like the sequence checked professionally, we handle Gate Repair Newark service calls and can run through the tests with a multimeter and a force gauge, so you know exactly where your system stands.
Battery Backup Health: Reading Voltage Correctly
Battery backup is the component most homeowners assume works right up until the power fails and the gate doesn’t move. A voltage check is the fastest way to tell whether your battery is healthy.
Most gate operator battery backup systems use a 12-volt sealed lead-acid battery (sometimes a pair wired in series for 24-volt systems). Here’s how to read a resting voltage test:
- 12.6 volts or higher. Healthy. The battery is at or near full charge. Normal variation between 12.5 and 12.8 volts is fine.
- 12.2 to 12.5 volts. Partially discharged. May recover after a full charge cycle, but if it stays in this range after charging, start planning a replacement.
- 12.0 to 12.2 volts. Weak. The battery will probably fail under load, meaning the gate won’t complete a cycle on backup power. Replace it.
- Below 12.0 volts. Failed. Replace immediately.
- 13.0 to 13.5 volts (on a 12V system) while the charger is connected. This is normal charging voltage, not a battery fault.
The resting voltage test should be done with the charger disconnected for at least an hour. A battery fresh off the charger reads higher than its true state. A load test (running a full gate cycle on battery) is more meaningful, which is exactly what the quarterly test above does.
Two other battery realities matter in Newark. First, cold weather cuts battery capacity significantly. A battery that reads 12.4 volts in July may behave like 11.8 volts in January, which means a battery that “works fine” all summer can fail the first cold snap. Second, gate operators that sit unused for months (like a commercial property during a slow season) can develop sulfated batteries. Both of those are reasons to test the battery before winter, not after.
If you’ve got a Ghost Controls or Mighty Mule operator on your gate, the battery is often a standard AGM or gel cell that’s easy to source. If the voltage is consistently low and the charger tests fine, you’re looking at a battery replacement rather than a bigger repair.
The Documentation Habit That Shortens Every Repair
When a technician arrives on a gate call, the first question that makes the difference between a fast diagnosis and a long one is: “How long has it been doing this, and what changed?” A homeowner with a log can answer in 30 seconds. A homeowner without one can often only say “it started acting weird recently.”
You don’t need a spreadsheet. A notebook or the notes app on your phone works. Here’s what to record:
- Gate cycle count. Most operators track this in the menu. Record it at each quarterly service.
- Weather events. Note hard freezes, heatwaves, heavy rain and high-wind days. These correlate directly with component failures.
- Any change in behavior. Slow-down, odd noise, intermittent remotes, a gate that reverses without a reason.
- Maintenance performed. What you did, what you used (especially lubrication), and when.
- Parts replaced and by whom. This matters on older gate systems with legacy components that are getting harder to source.
- Brand and model of operator, and the model of any access control equipment. Write it on the inside of the operator cover if need be, so nobody has to hunt for it later.
In our experience, a homeowner with 12 months of even minimal log has already narrowed the problem down before the technician opens the gate. That saves diagnostic time, which saves money. The same log also tells you when a repair is no longer economical, which is the one piece of information most repair calls lack. If your gate has been through four repairs in two years on the same component, that pattern is worth a conversation about replacement rather than a fifth repair.
For property managers in Newark managing multiple gates, a shared log per gate is even more valuable, since it captures which gates are genuinely problematic and which are just noisy.
Common Mistakes to Avoid
- Lubricating before testing. Grease hides chain and gear wear. Test the drive train, then lubricate. This single ordering change is the difference between catching a problem early and delaying it.
- Skipping the photo-eye test because the gate “works fine.” A failing photo-eye can leave a gate operating normally in most cycles while failing to reverse on the one cycle that matters. Test it monthly.
- Disengaging the manual release and forgetting to cycle it. Some operators drop out of calibration after a manual release. Always run a full cycle immediately after re-engaging the operator.
- Treating battery backup as “set and forget.” Batteries degrade quietly and fail loudly during a power cut. Test under load quarterly, and specifically before winter in Newark.
- Using a general handyman for gate electrical work. Operator control boards, loop detectors and safety sensors are a specialty. A generalist often replaces the whole operator when the actual fault was a $20 sensor. We work on the brand you already have rather than defaulting to replacement.
- Ignoring seasonal shifts. Newark’s temperature range causes limit drift on swing gates and swelling on wooden gates. If your gate is stopping short in July, it will get worse in December unless the limits are adjusted.
- Operating a gate with a compromised safety device “just until a technician can come.” Don’t. A gate with a failed safety edge or photo-eye should be left in the open position until repaired.
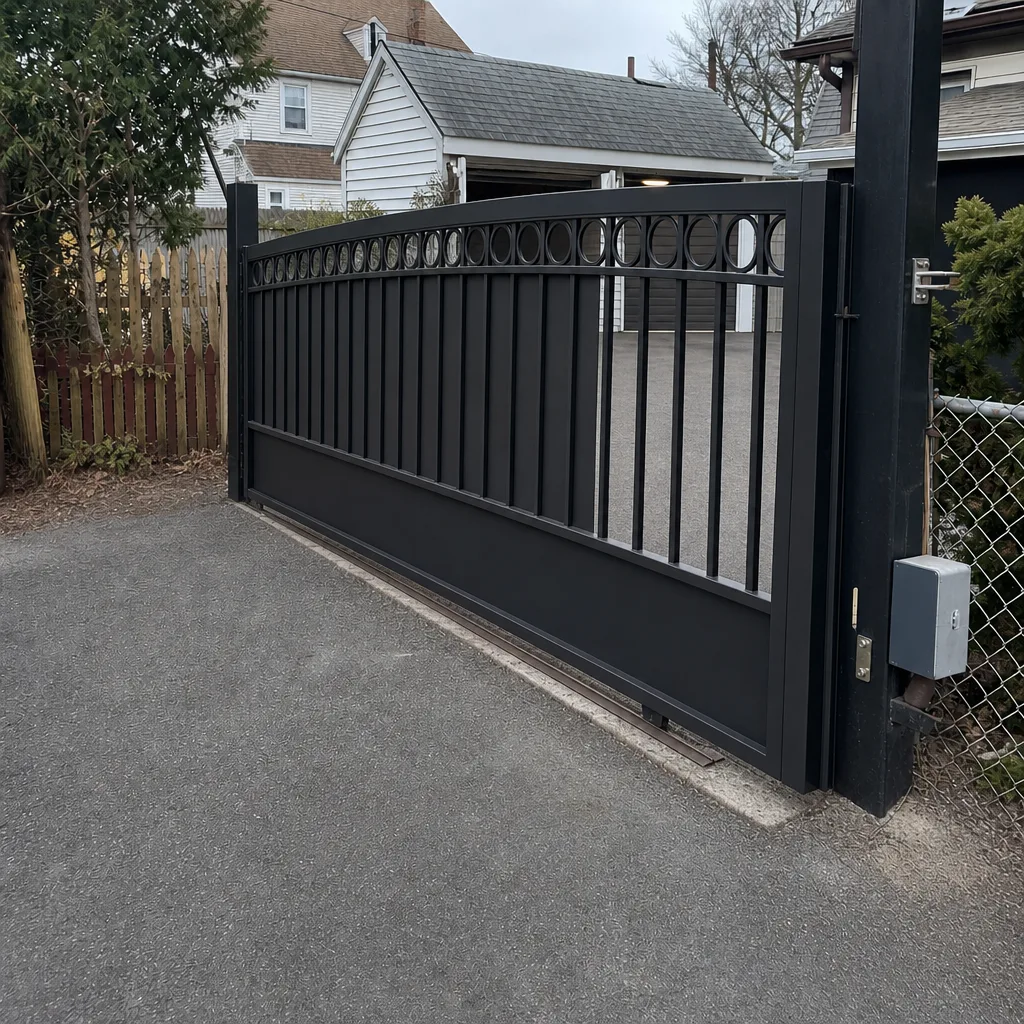
See the difference
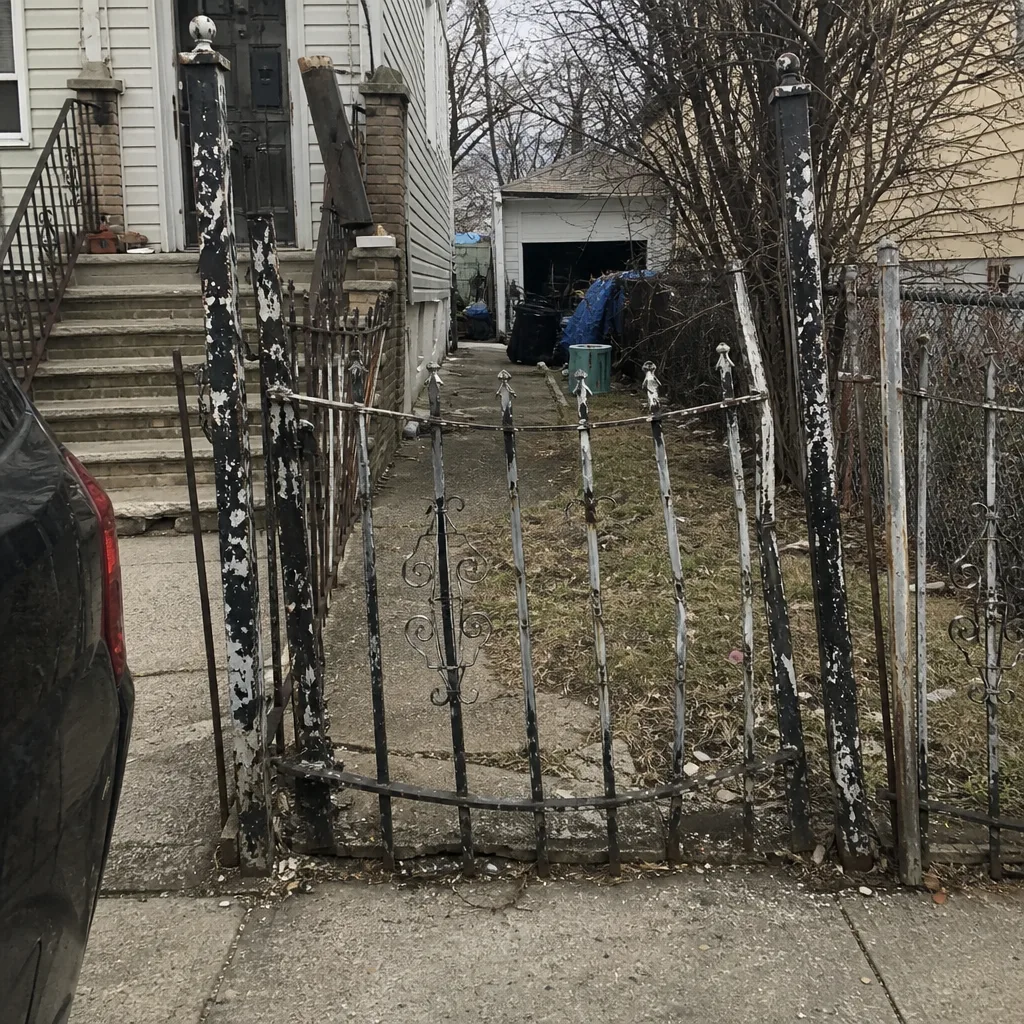 Before
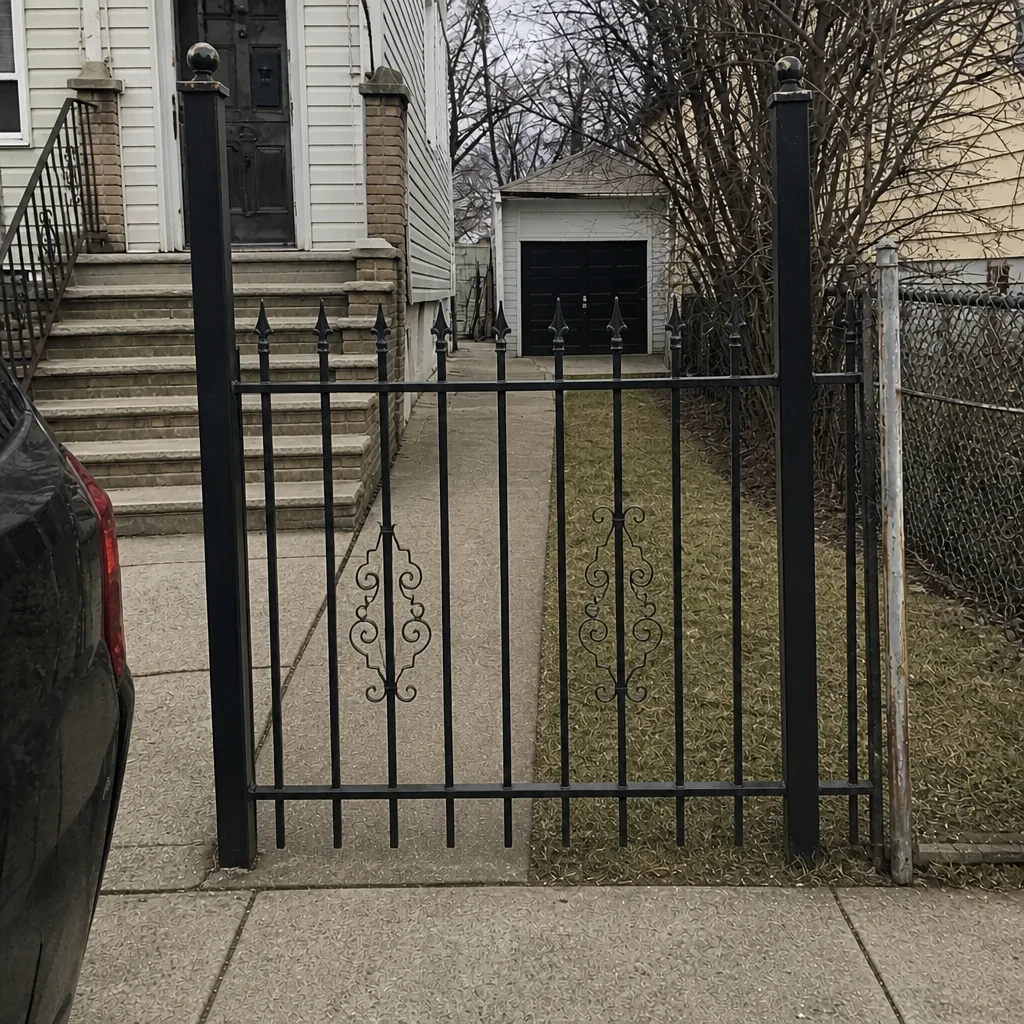 After
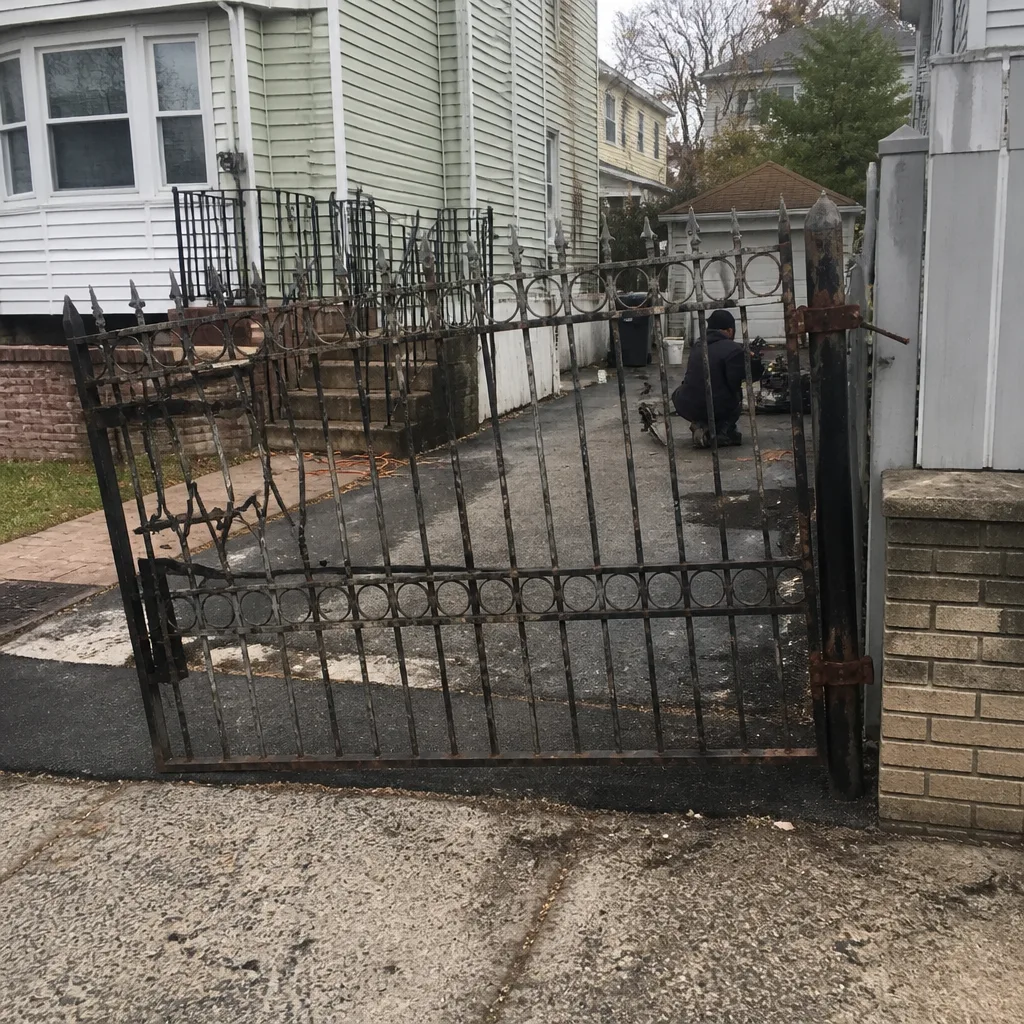 Before
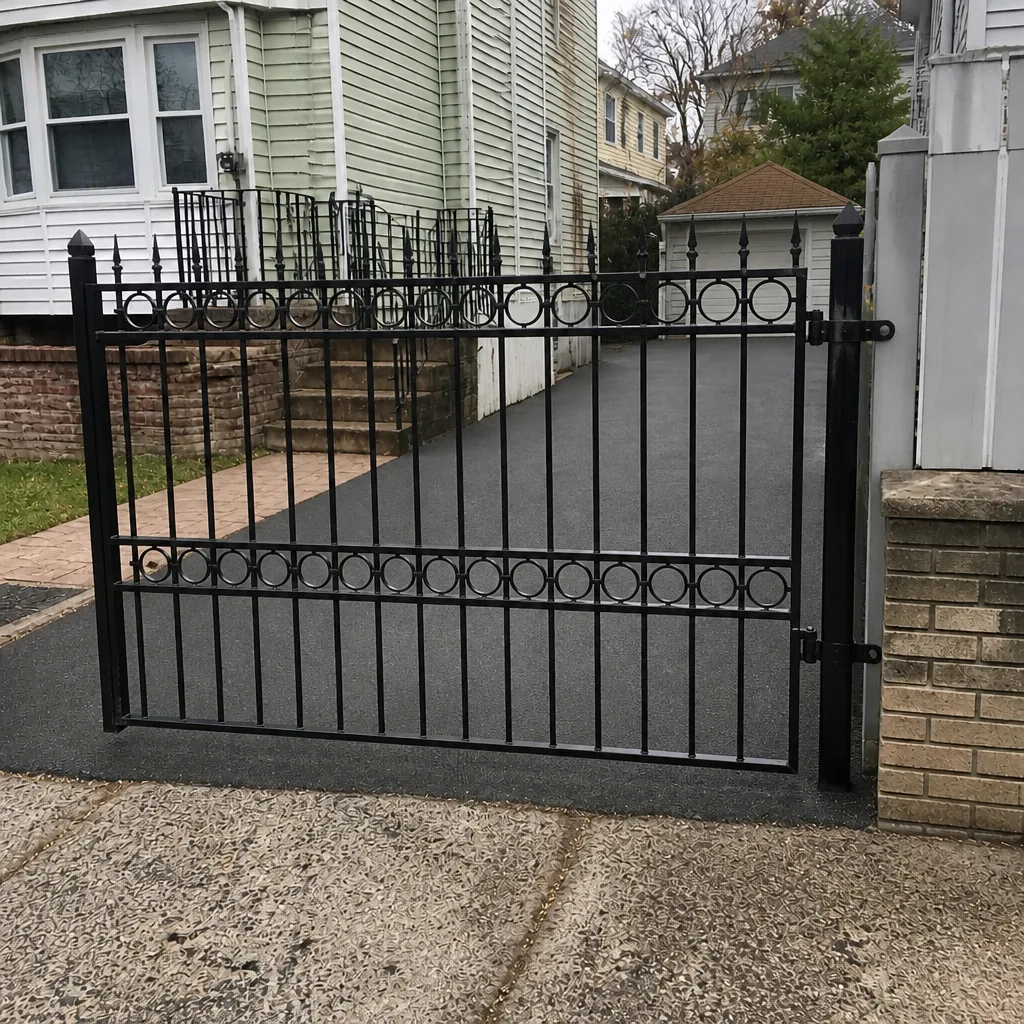 After
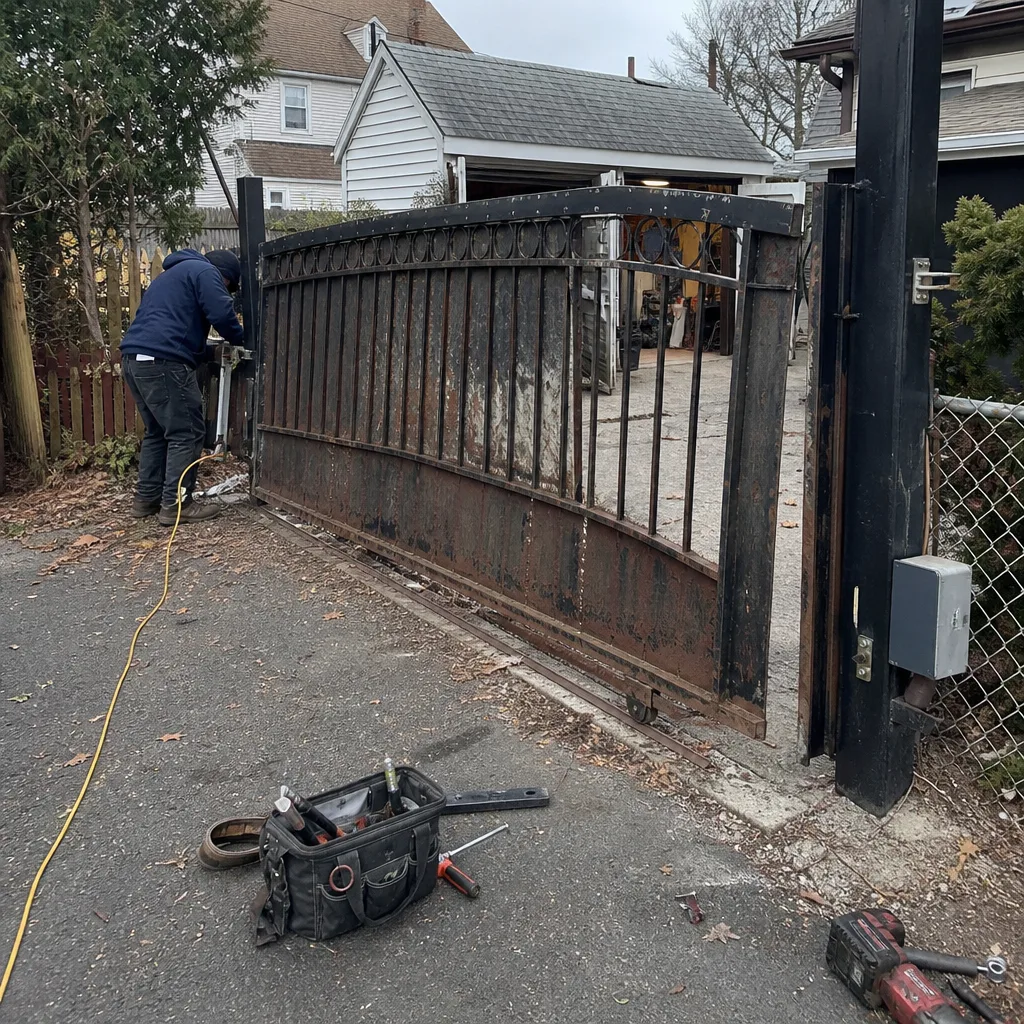 Before
 After
When to Call a Professional
Some of this checklist is genuinely DIY territory. A monthly sight check, a photo-eye test, and a logbook are all within reach. Where the line sits is the electrical and load-bearing side of the system. Any inspection inside the operator housing near line-voltage terminals should go to a trained technician, as should any adjustment to force limits, safety-edge thresholds or loop tuning. If your gate shows structural movement at the posts, a failing safety device, or a repeated fault after a repair, that’s a professional call. Our technicians have up to 10 years of experience and work across the brands in the checklist above, including Viking, Ghost Controls, DoorKing and Elite. Gate Repair Newark offers free estimates in Newark. Call (833) 983-2324. We answer 24/7. Fast dispatch from 7am to 7pm, Sunday through Friday. Closed Saturday, so a call that comes in on Saturday is booked into the next opening, Sunday through Friday, 7am to 7pm.
If your gate has failed entirely and you’re deciding between repair and replacement, a diagnostic visit is the right first step. We diagnose the system in front of us rather than defaulting to a brand playbook, which is why older and mixed-brand gate setups that other providers turn away often turn out to be straightforward repairs.
A common question at this stage is whether the gate needs to be replaced at all. In our experience, most gate problems are diagnosable on the first visit and most are repairs, not replacements. From a jammed arm to a full installation, we cover the whole cycle, so there’s no handoff to a second company if the diagnosis does turn into a bigger job.
Frequently Asked Questions
Monthly for safety devices and a visual check, quarterly for the operator and battery, and annually for a full structural and electrical review. Newark’s seasonal range makes the winter prep step especially important, so plan the annual review for early fall.
Pass a cardboard tube slowly through the sensor beam while the gate is stationary and confirm the sensor’s LED changes state. Then repeat while the gate is closing and confirm the gate reverses. If either test fails, stop using the gate until the sensor is repaired.
A healthy 12-volt gate battery rests at 12.6 volts or higher. Between 12.2 and 12.5 volts means partial discharge; below 12.0 volts means the battery should be replaced. Test it with the charger disconnected and after an hour of rest.
Most gate installations and significant structural changes require a permit, and electrical work on an operator’s power feed usually does as well. Ask your city’s building department before scheduling work, and confirm whether the permit is for the gate structure, the electrical, or both.
Cold weather reduces battery capacity, contracts metal components and thickens lubricant in older operators. Check the battery resting voltage before winter, confirm the clutch or force setting per the manual, and verify that the gate’s track drains properly. If the problem persists after those checks, a diagnostic visit will find the cause.
Start with the date, the specific behavior (slow, intermittent, failing to reverse) and recent weather. Add the operator’s cycle count and any recent repairs or lubrication. That log shortens diagnostic time significantly and gives a technician the pattern rather than a single symptom.
The Bottom Line
Gate maintenance in Newark works best when the checklist follows the right sequence. Test safety devices first, inspect the drive train second, lubricate last. Layer the brand-specific service intervals for your LiftMaster, FAAC, Linear, Viking, Ghost Controls, DoorKing or Elite operator on top of the generic tasks, and adjust the emphasis for the neighborhood and season. Keep a simple log so the next diagnostic visit starts with history rather than guesswork. And know where the DIY line is: an inspection, a test sequence and a logbook are worthwhile on every gate, while electrical and force-limit work belongs to a trained technician. If your gate is showing a failure that the checklist doesn’t resolve, call (833) 983-2324 for a free estimate.
Written by the team at Gate Repair Newark.